This guide provides a step-by-step process for adding a Human Call Transfer Action to your assistant, enabling seamless call handling and improved customer service. By following these instructions, users can customize their call transfer settings, including background music, messages, and voicemail detection options.
Human Call Transfer Action in Synthflow AI
The Human Call Transfer action in Synthflow AI enables your AI assistant to seamlessly transfer a call to a human agent. This feature is valuable when the user requests to speak to a real person or when the situation requires human intervention, such as for managerial escalations or more complex inquiries.
- Specify the phone number that the assistant will transfer the call to. This can be a direct line or an extension within your organization. There is a validation button to confirm that the number is valid.
- This section defines the condition for the transfer. For example, you can set it to transfer when the user requests to speak to a manager or human agent.
- Optionally enable background music during the transfer process to ensure a smooth and professional experience for the user while waiting for the transfer to be completed.
In the Advanced Settings section, you can fine-tune the behavior of the call transfer action:
- Extension: If transferring within a phone system, specify the extension to which the call should be transferred.
- Timeout: Set the duration (in seconds) that the system should wait for the human agent to pick up the call.
- Trying to Reach the Target Message: This is the message the assistant says while trying to transfer the call (e.g., "Let me transfer you to a human. Please hold on.").
- Target Answered Message: The message the assistant says once the human agent picks up (e.g., "I'm transferring you now. Goodbye!").
- Target Didn’t Answer Message: This message is played if the human agent doesn't pick up the call (e.g., "Sorry, I couldn't transfer you. Would you like to continue the conversation?").
The Warm Call Transfer allows for a smoother transition to a human agent by providing some additional context and control:
- Voicemail Detection: Choose between ML-based or time-based voicemail detection. ML-based voicemail detection ensures that the assistant avoids transferring calls to voicemail.
- Language Code: Define the language code (e.g., en-US) to ensure the messages are in the correct language.
- Message to Transfer Target Before Joining: Set a message that will be sent to the human agent before the user is transferred (e.g., "You have a lead. Connecting you shortly.").
- Pre-message Pause: Set a pause before the message is played to the agent.
- Post-message Pause: Set a pause after the message, allowing the agent to prepare before joining the call.
- Escalation to Human Agents: Allows for escalation to human agents when the AI assistant cannot handle specific requests or when users explicitly ask to speak to a real person.
- Seamless Experience: The user experience is smooth and professional, with customizable messages and even background music during the transfer.
- Flexible Customization: With options like voicemail detection and timeout settings, you can control every aspect of the transfer process to ensure that it fits your business needs.
The Human Call Transfer action ensures that Synthflow AI can maintain flexibility, handling both automated and human interactions smoothly, enhancing customer satisfaction and operational efficiency.
1. Click "Actions"

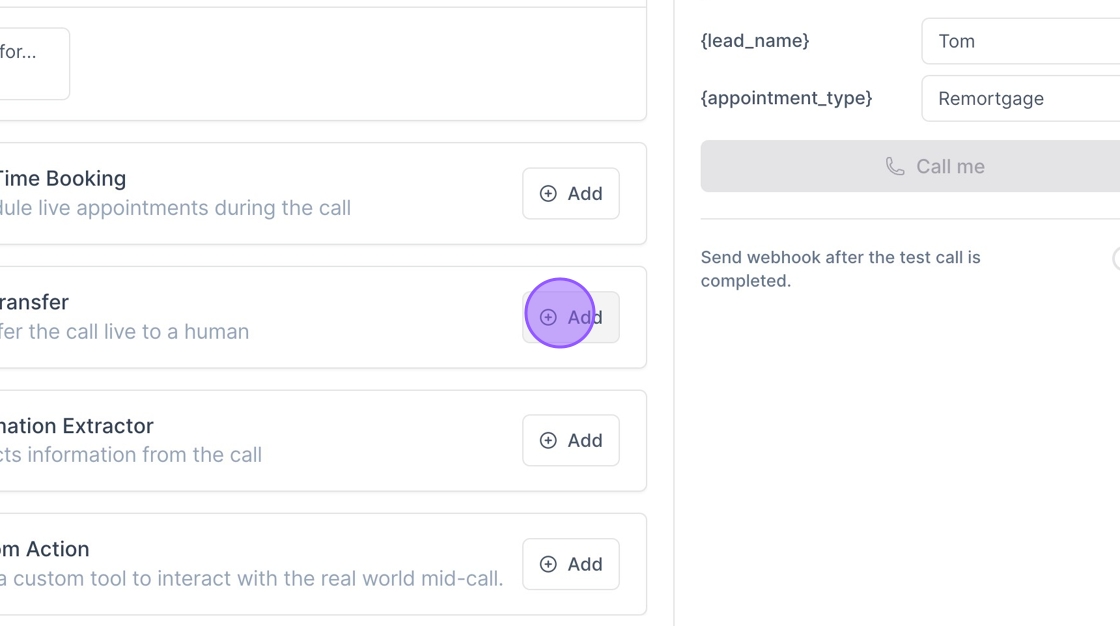
2. Click "Add" on the Call Transfer Action

3. Click "New Action"

4. Click "Create"

5. Enter a Phone number that you want the call to be transfer to.

6. Click "Validate"

7. Define when the Transfer should take place.

8. Click to Toggle on Background Music

9. Add a URL or Select from the dropdown

10. Define the Initial Message when the call is transfered

11. Click out to save.

12. Click here to add an Extension.

13. Click here to change the "Target Answered Message"

14. In Voice Engine 2.0, select the Voicemail Detection setting to ML or Time-based.

15. Click here to change the Language Code.

16. Click here to change the transfer target message.

17. Click here to change the pre-message pause length.

18. Click here to change the post-message pause length.

19. Click "Save"

20. Click "Assistants"

21. Click "Open"

22. Click here.

23. Click "Add"

24. Choose the newly created Action from the list.

25. Now the Action is attached to your Assistant.

Related to