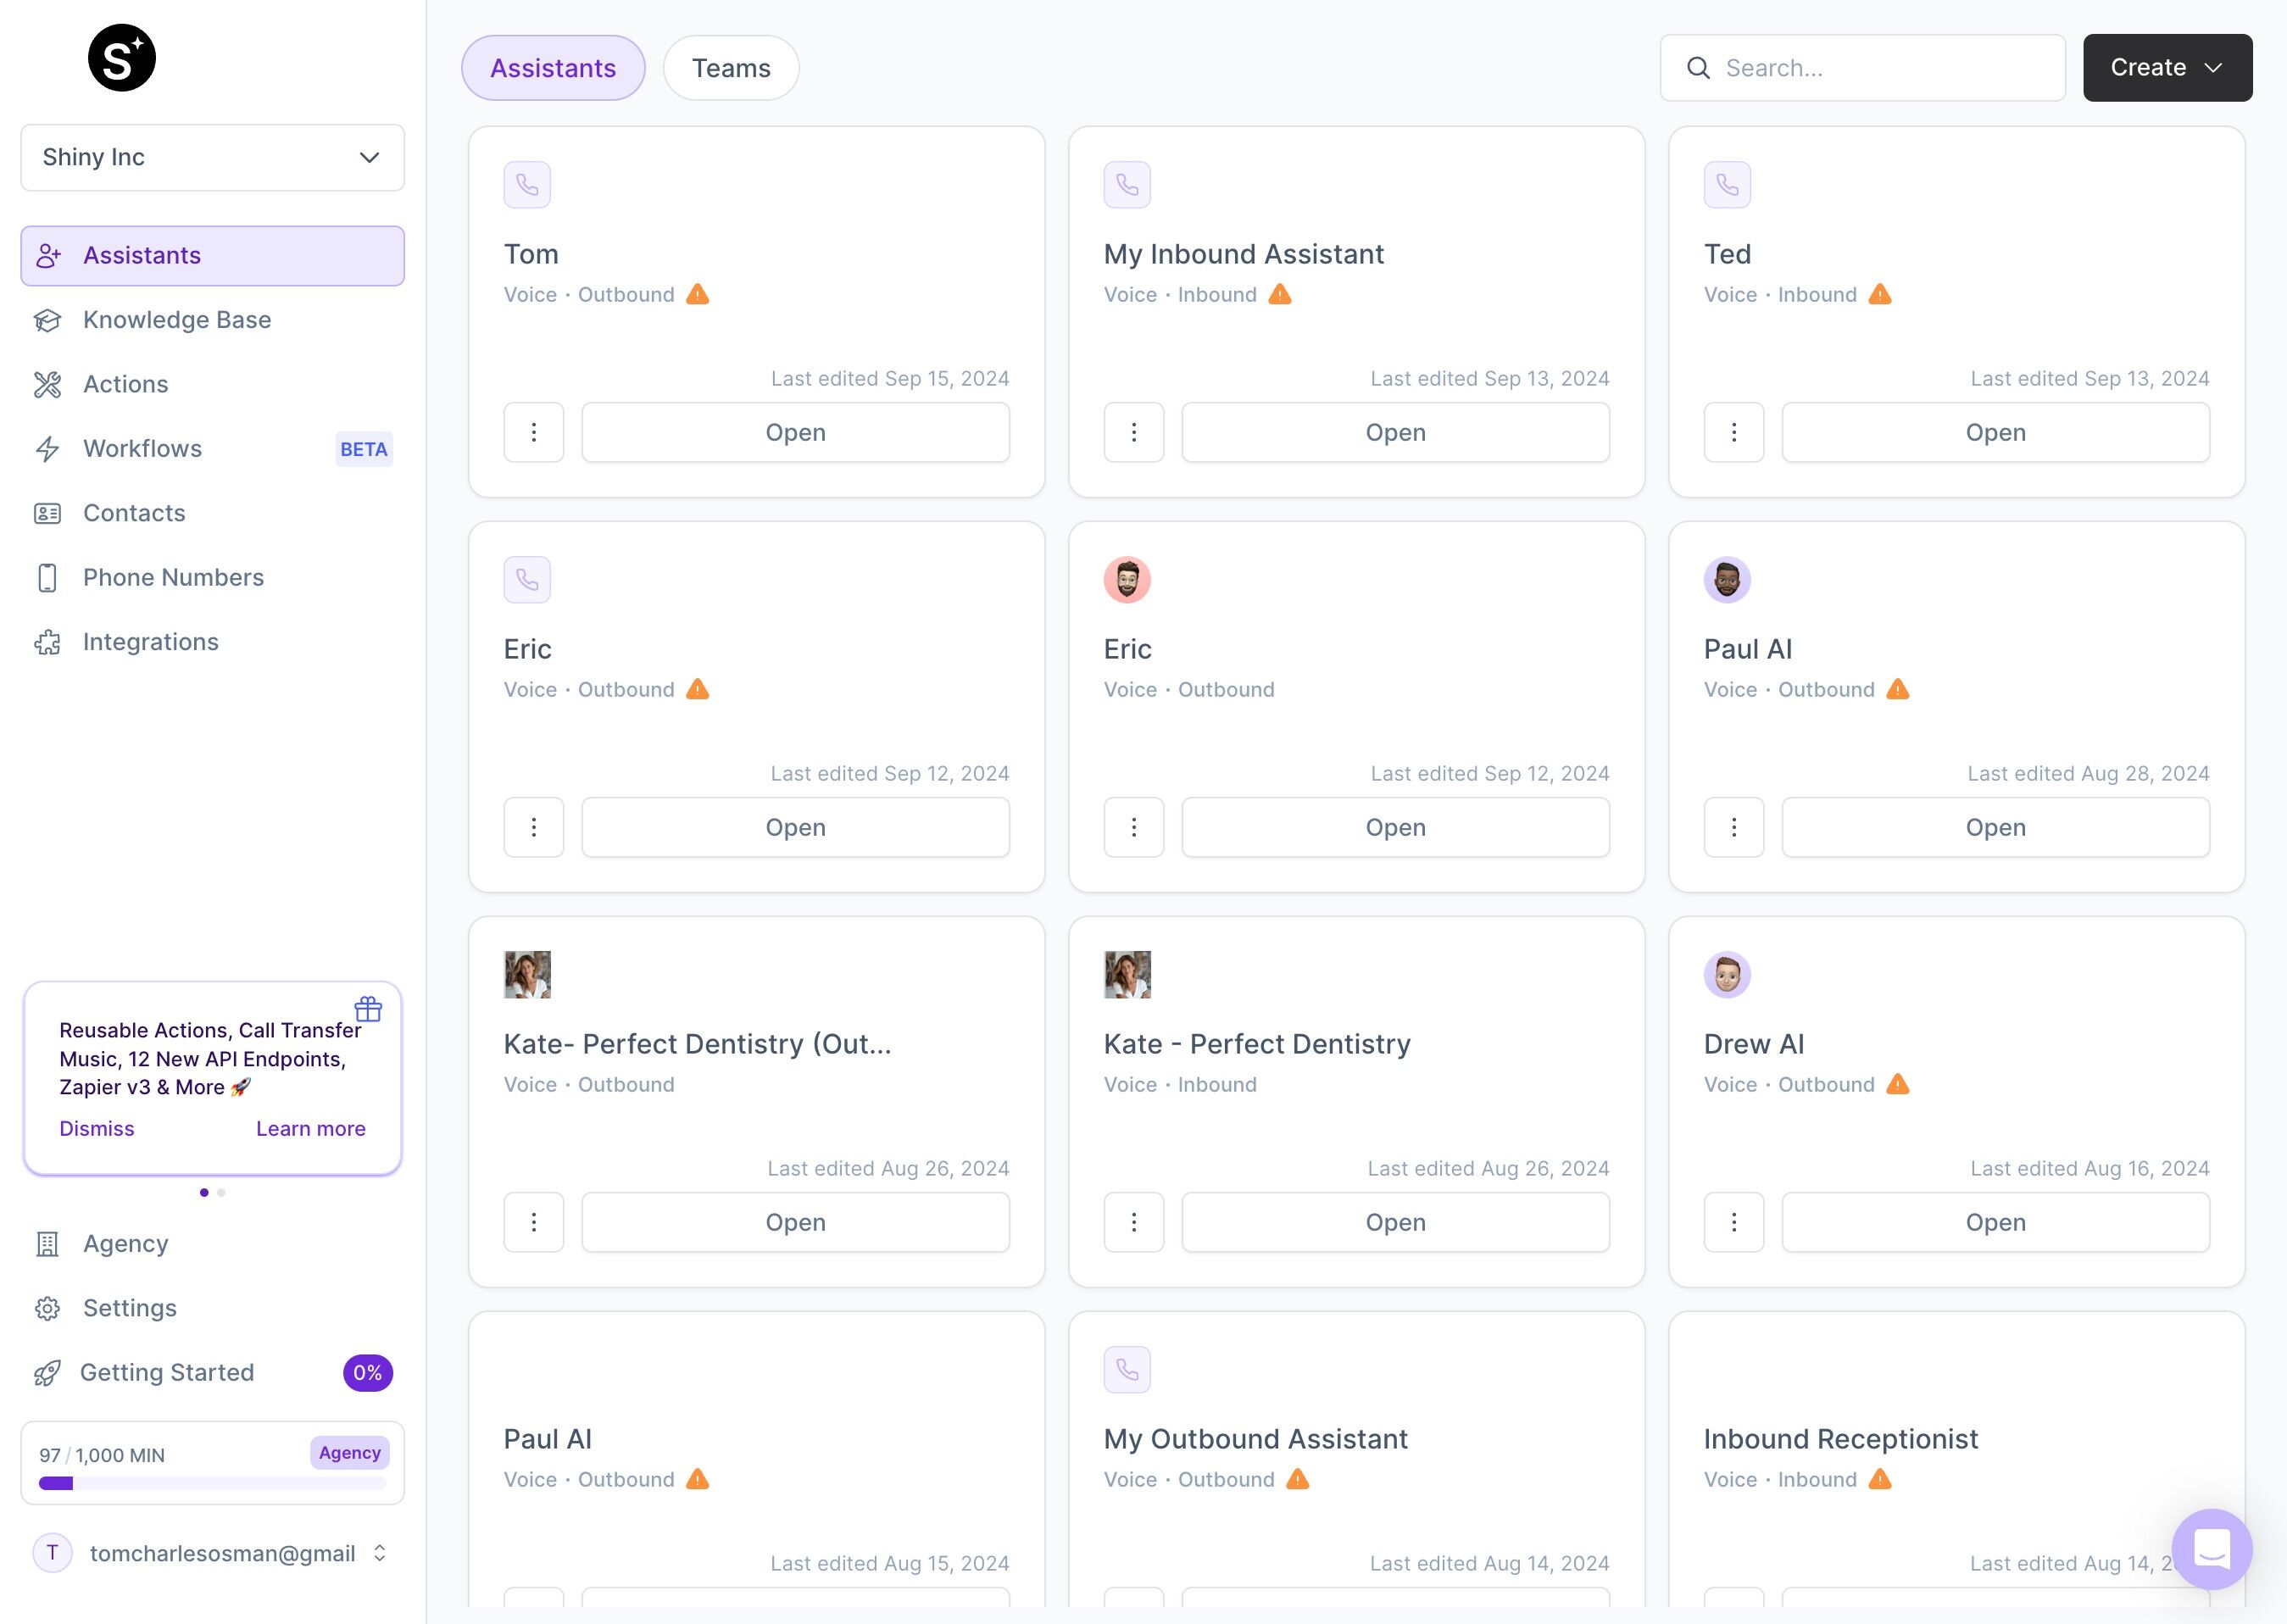
This guide provides a straightforward, step-by-step process to create your own AI assistant, making it accessible even for beginners. It covers everything from naming your assistant to customizing its voice and deployment options.
- Click "Create"

- Click "Start creating an assistant from scratch"

- Click "Build your AI Assistant from the ground up"

- Click Outbound or Inbound.

- Give your Assistant a name.

- Click here to Select a Language.

- Choose a language.

- To change the Voice, click this icon.

- Select one to match your assistant.

- Click "Select"

- Customise your greeting.

- To tailor your Prompt click here.

- Edit the prompt to match your assistant's goals.

- Once done, click Deployment.

- Select one of the options to deploy your assistant into the world.

Tip: Done. Congratulations on Creating an Assistant from Scratch.